How to Plan an Addition on a Home

It’s a well-known fact that requirements related to configuration and space in a home keep changing with times. Children growing up, parents coming to live with you, need of a home office, etc. are only some from a long list of reasons that might necessitate getting a home remodeled.

So, what are the considerations you need to make when planning an addition on your home? We’ll try and provide some of the answers.

Know the local construction and expansion regulations

As a first step, it’s important to know what you are allowed to do in relation to the remodeling or expansion of your house. Do you need a permit? What line considerations need to be made? Are there any restrictions on the number of stories or certain styles of architecture? Understand those laws and regulations, or better, consult a professional to know about them.

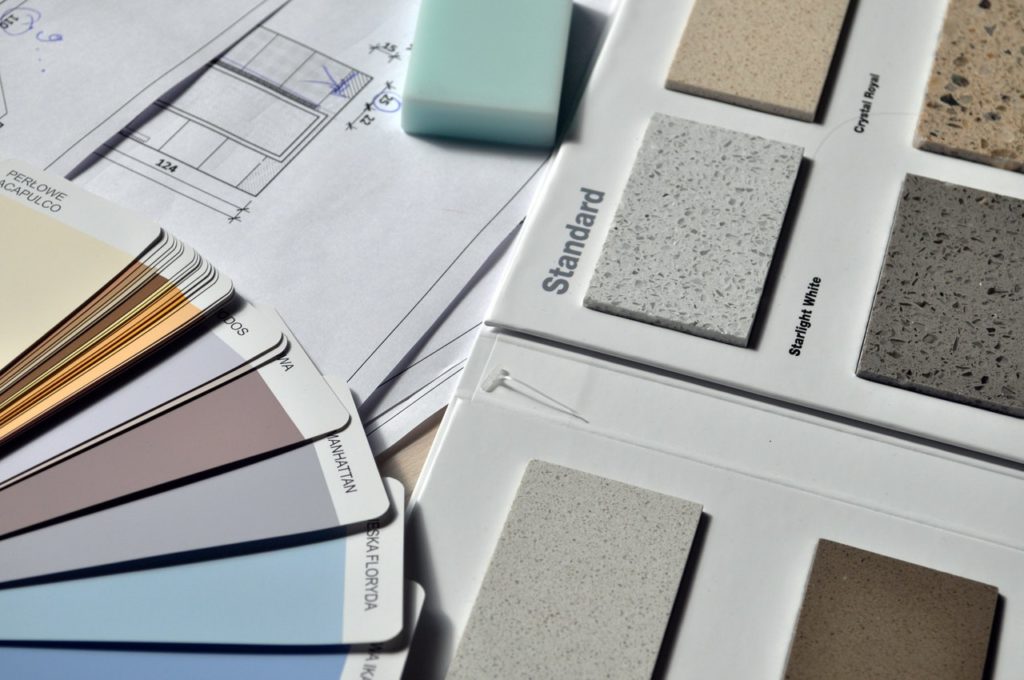
Arrive at a practical plan

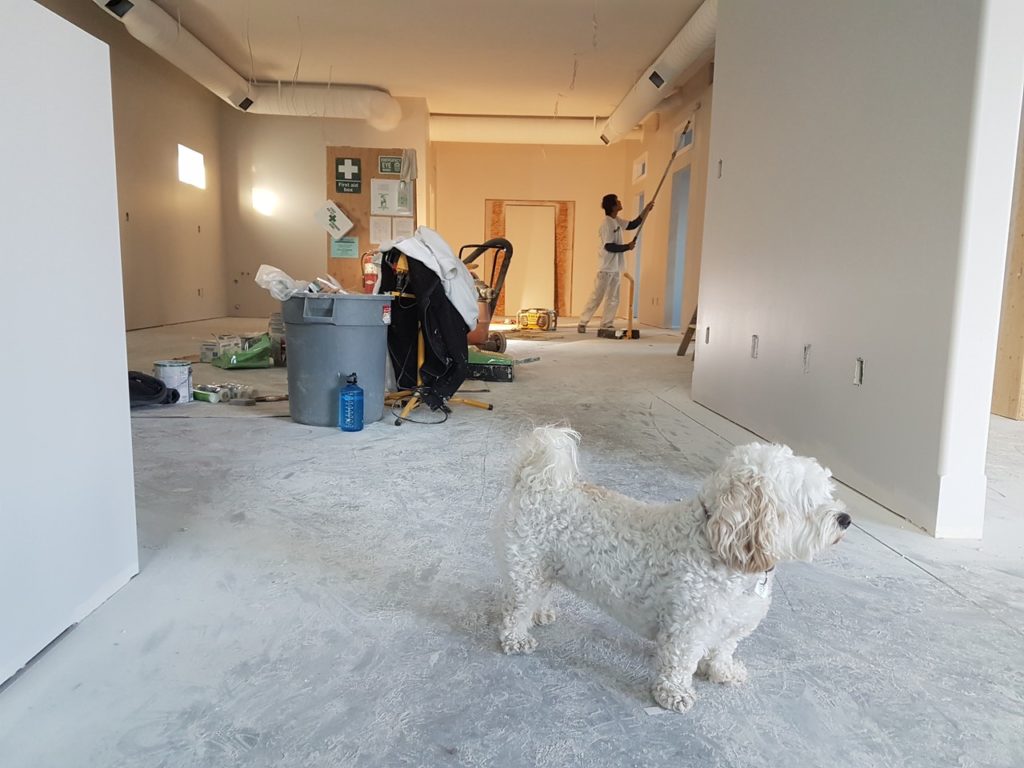
You must start with establishing that the addition you are planning is an absolute must. Consider every detail that can have an impact. For example, whether you’re going to live in the house while the construction is taking place? Are there older folks with limited mobility or toddlers and small children who’ll access the space? If it’s a home office, are there going to be visitors? Et cetera.

Follow that by chalking out a practical design in consultation with an architect. A design that fits in with the architecture and décor of rest of your house.

Allocate a budget

A study by a website shows that a home addition in the USA can range between $10,000 and $1,500,000. The average cost per addition, without considering the magnitude, is to the tune of $42,000.

Work out the costs carefully and plan for where they will be sourced from. Consider all the hidden costs such as the architectural plans and designs, permit fees and design approval fees.

Double-check that your budget and design are in-line with each other.

Select a remodeling contractor

Approach contractors with good reputation for quotations to develop based on your design. As they’ll all be bidding from identical set of inputs, you’ll be able to better gauge their experience, quality of workmanship and price. Evaluate the bids carefully and finalize the remodeling contractor.

Keep the architect involved for consultation throughout the construction stage.

Conclusion

There are endless ways in which a home addition can be done. If you are clear about why you need the addition and have the requisite monetary resources, there is no reason why you shouldn’t get that done. With careful planning and execution, you can have that extra space in your home for optimal usage.

And don’t forget about insulation. See our post.

Issues with Insulation

There are different types of insulation and different ways to install the insulation. Also, there are different places you should insulate.

If you use your attic for storage and have the floors covered in plywood, that is a problem. That is because the flooring limits the amount of insulation you can put in the attic. So you might need to take up the plywood and find someplace else for what you are storing.

Types of Insulation

The two most common types of insulation are loose fill and batts, also known as blanket type. Most people are familiar with these two types but few are aware of radiant barrier foil insulation. This foil type insulation uses different properties than traditional insulation to provide insulation.

Loose fill Insulation

In some cases this is spread around by hand, but typically it is blown in with a machine. There are certain situations where it makes more sense to use this type:

  • When there are areas that are hard to get to because of obstructions, etc.
  • When the joists are not the standard width
  • When you are adding insulation on top of existing insulation because it will fill in any gaps
  • When there is little headroom to work in

Loose fill can be of three types, fiberglass, cellulose or mineral wool. Fiberglass is lighter but you need more of it. Cellulose is common but if it gets damp, it can rot. The mineral wool costs a bit more but has natural fire resistance since it is made from rock or slag fibers.

Batt Insulation

You may remember seeing ads for this with the Pink Panther. The reason is that it comes in rolls 16″ or 24″ wide with pink fiberglass attached to paper and foil backing. In addition, it comes in different thicknesses which have different R values. An R value is a measure of insulation effectiveness.

It is best to use this in the opposite situation of the blown-in loose insulation. In other words, when the joist spacing is standard, there is easy access to the attic space, and there is enough headroom.

Radiant Barrier Solar Attic Foil

Heat is transmitted by conduction, convection or radiation. Infrared radiation heats up the roof of your house. Then through convection and conduction the air in your attic heats up which then transmits the heat down into your house.

Regular insulation works by having lots of little air pockets and reducing air movement so convection has less of an impact. But if it gets hot, it can still transmit heat by convection. So, what to do? You can take care of the problem by using a radiant foil barrier. It is basically a large sheet of aluminum foil with thousands of little holes in it so it won’t trap moisture. Aluminum reflects 97% of radiant heat. Only silver and gold foil reflect more at 98 and 99%.

By putting the foil insulation on top of the other insulation most of the radiant heat reflects back into the attic. The top of the regular insulation is 20-30 degrees cooler that it would be without the foil. That means less heat transfers into the house and you don’t have to run the air conditioning nearly as often.

You can think about the difference on a hot day when the sun is out. If you stand in the sun, you can feel the radiant heat. If you stand in the shade, even though the temperature is the same, you feel cooler because you are only being heated by convection from the air and not radiant heat from the sun as well.

Wall Insulation

If you are building a home or completely remodeling and have taken down the interior walls, you can staple batts of insulation in between the joists. Otherwise, you will have to blow in the insulation.

If you have an older house, you might want to check to see if you have any insulation in the walls. Energy used to be so cheap that people didn’t bother with insulation. If you have to add insulation, it is not a fun project.

You have to cut a circular hole near the ceiling and one near the floor. You need two holes because the pressure of blowing in the insulation could blow out the wallboard if you didn’t have a place for air to get out.

The bad part is that you have to cut the two holes every 16 inches in the walls around the outside of your house on all floors. The reason is that the studs, which are every 16 inches, keep the insulation from going sideways, just up and down in that narrow area. Then you have to take the circles of wallboard and plaster them back in place and then repaint all the walls. Not a cheap process, but usually worth it for the extra insulation and lower heating bills.

For more useful information, click here.

Hello Homeowners and Purchasers!

The crane on top of the building is a bit over the top. We doubt you will be using something like that unless you are a multi-millionaire and building a building with a penthouse on top for yourself. But, we thought it was a fun photo.

We plan to give you tips that will help you in any building projects you might have. We also plan to give you some ideas you can use or warn you away from mistakes.

Are you remodeling a kitchen, a bathroom? Perhaps adding a deck? Or are you going full out and adding an addition to your house? If any of those are true, we hope to be able to help you with your endeavors.